+8615820889696
 Info@cowint.com


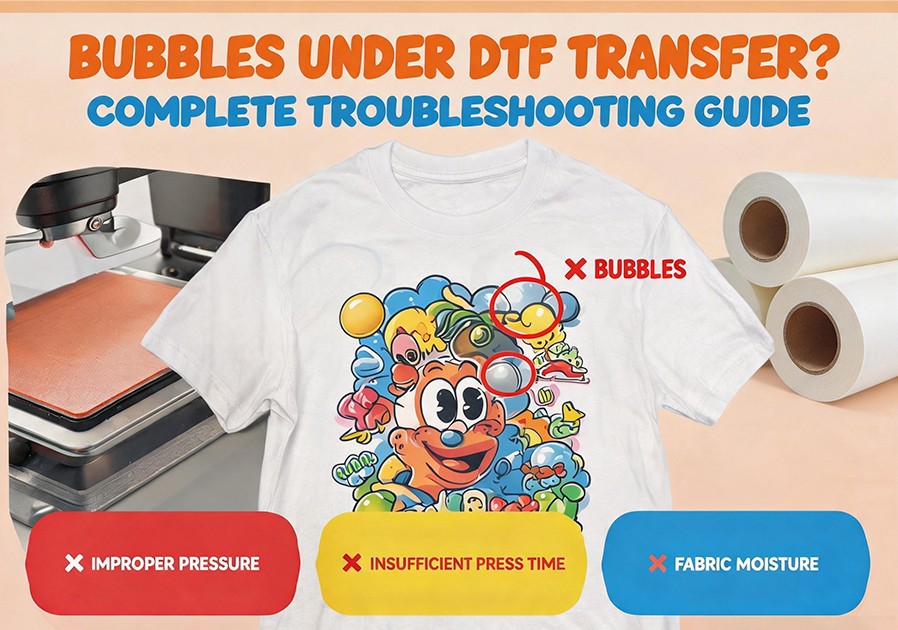
Introduction: After heat pressing, you carefully peel back the film and discover small bubbles—some pinhead-sized, some clustered—across your vibrant print. This is one of the most frequently searched DTF faults by users.
Bubbles indicate that during the transfer process, gases became trapped between the print layer and fabric. These gases can come from moisture in fabric fibers, chemical reactions from hot-melt powder, or even air pockets sealed prematurely between film and fabric. This article systematically covers five root causes and solutions for transfer bubbling.
1. Five Root Causes of Transfer Bubbling
Cause 1: Insufficient Fabric Pre-Pressing. Natural fibers absorb moisture from the air. During heat pressing, this moisture evaporates. If the print layer seals before all moisture escapes, water vapor gets trapped under pressure, forming bubbles. This is the most overlooked step.
Cause 2: Incomplete Powder Curing. If powder hasn‘t fully melted into a transparent film during curing, residual particles continue melting during heat pressing, potentially releasing gases that become trapped. Ensure powder is fully melted to a transparent state.
Cause 3: Heat Press Temperature Too High. On polyester or blend fabrics, excessively high temperatures can cause fabric additives or dyes to sublimate, releasing gases that form bubbles under the print. Overheating also lowers TPU adhesive viscosity, making it too fluid and trapping bubbles.
Cause 4: No Release Film/Parchment Used. Without parchment paper or Teflon sheet for the second press, the print surface may retain micro-peaks and irregularities that trap air.
Cause 5: Uneven Powder Distribution or Clumping. Powder buildup creates thick, viscous melted regions prone to trapping air.
2. Systematic Solutions for Bubble Problems
Solution 1: Standardize Fabric Pre-Pressing. Remove moisture and wrinkles by pre-pressing blank fabric at 140-150°C for 3-5 seconds. In humid conditions (relative humidity >60%), extend to 8-10 seconds.
Solution 2: Verify Curing Completion. Before heat pressing, check that the powder layer is completely transparent and fused with the ink. Standard curing temperature for TPU powder is 160-170°C for 2-3 minutes.
Solution 3: Use a Protective Release Medium and Optimize Parameters. Place Teflon sheet or parchment paper between the print and heat press platen as a buffer for even heat and pressure distribution. Control temperature at 150-165°C for 10-15 seconds. For polyester fabrics, reduce to 140-150°C.
Solution 4: Optimize Powder Application. Clean powder equipment regularly and check for clogs. Use automatic powder systems with recovery and sieving functions for even distribution.
Solution 5: Special Treatment by Fabric Type. Polyester: pre-press and reduce temperature to 140-150°C; use cold peel film. Heavy fabrics (denim, canvas): extend pre-press time and increase pressure for fiber penetration. Coated/waterproof fabrics: not recommended for direct DTF—use adhesives designed for waterproof materials.
3. Parameter Optimization by Fabric Type
| Fabric Type | Pre-press Temp/Time | Press Temp/Time | Pressure | Release Medium | Notes |
|---|---|---|---|---|---|
| 100% Cotton | 140°C / 5 sec | 155-165°C / 12-15 sec | Medium | Teflon sheet | Increase pre-press in high humidity |
| Hoodie/Fleece | 145°C / 8 sec | 160-170°C / 15-18 sec | Med-High | Teflon sheet | Ensure thick layer penetration |
| 100% Polyester | 130°C / 5 sec | 140-150°C / 8-10 sec | Medium | Teflon sheet | Cold peel; prevent scorching |
| Polyester Blend | 140°C / 5 sec | 145-155°C / 10-12 sec | Medium | Teflon sheet | Adjust temperature by blend ratio |
| Denim/Canvas | 150°C / 10 sec | 160-170°C / 15-20 sec | High | Parchment paper | Thorough moisture removal |
4. Workspace Environment Management: Temperature and Humidity
High humidity (>70%) leaves residual moisture in fibers even after pre-pressing. Low humidity (<30%) increases static electricity, attracting dust that causes poor adhesion and indirect bubbling. Use a hygrometer to monitor your workspace; maintain 18-28°C temperature and 40-60% relative humidity.
5. Emergency Fix for Bubbles After Transfer
If bubbles appear after pressing, don‘t discard the garment immediately. Quick fix: cover the print with Teflon sheet or parchment paper and perform a short second press (5-8 seconds) at 5°C above the original temperature. For small bubbles, this can release trapped gases and re-bond. For large or damaged bubbling, remove the transfer completely by reheating and peeling, clean residual adhesive, and re-press a new sheet.